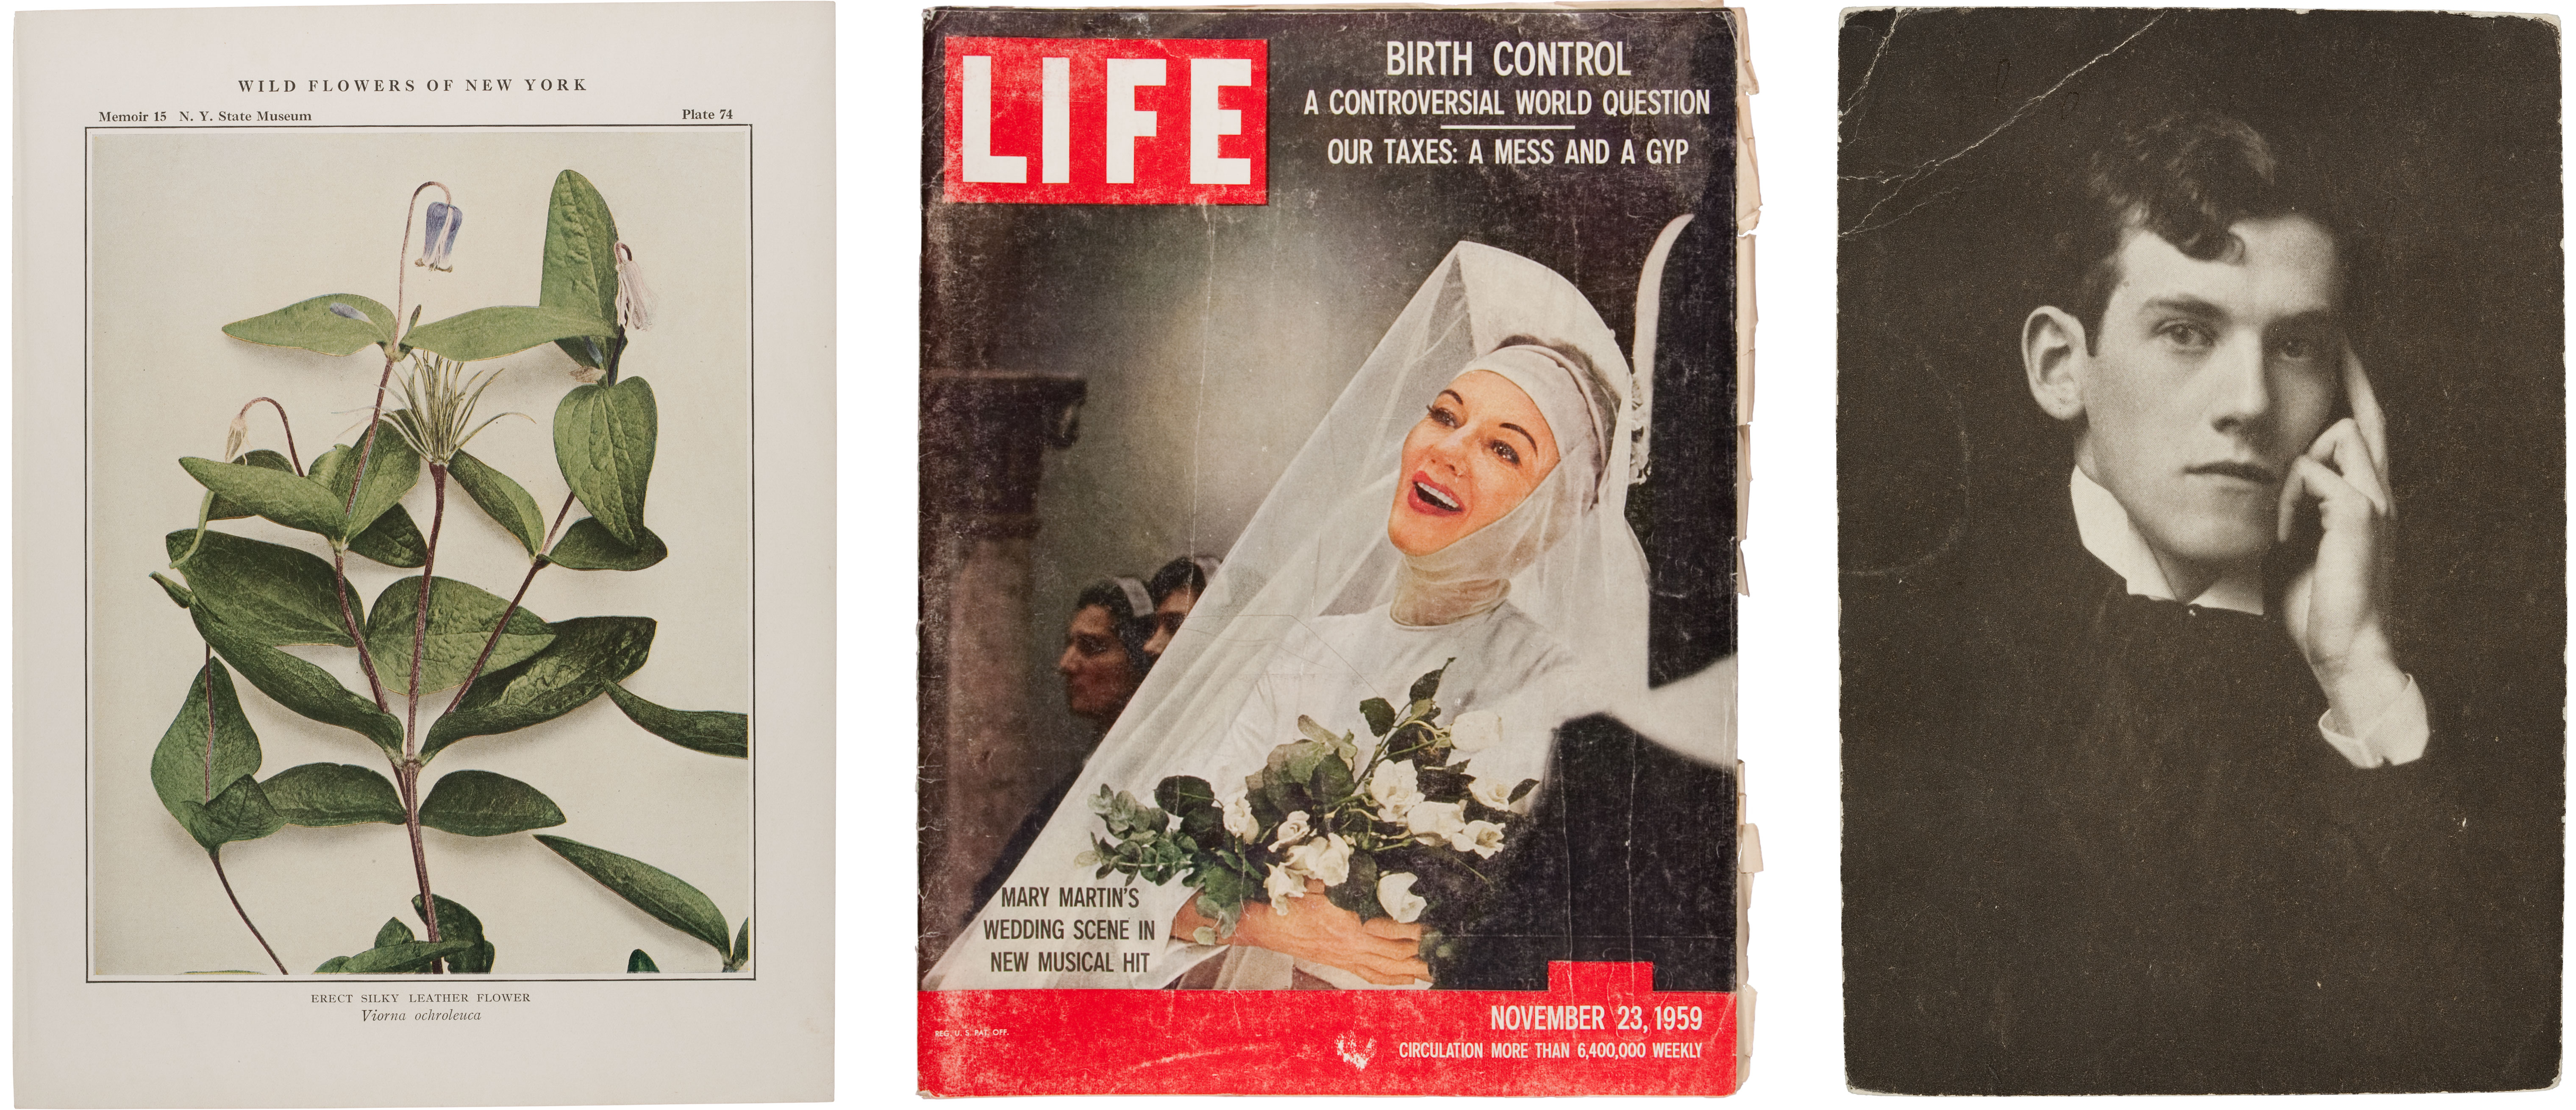
Examples of Letterpress
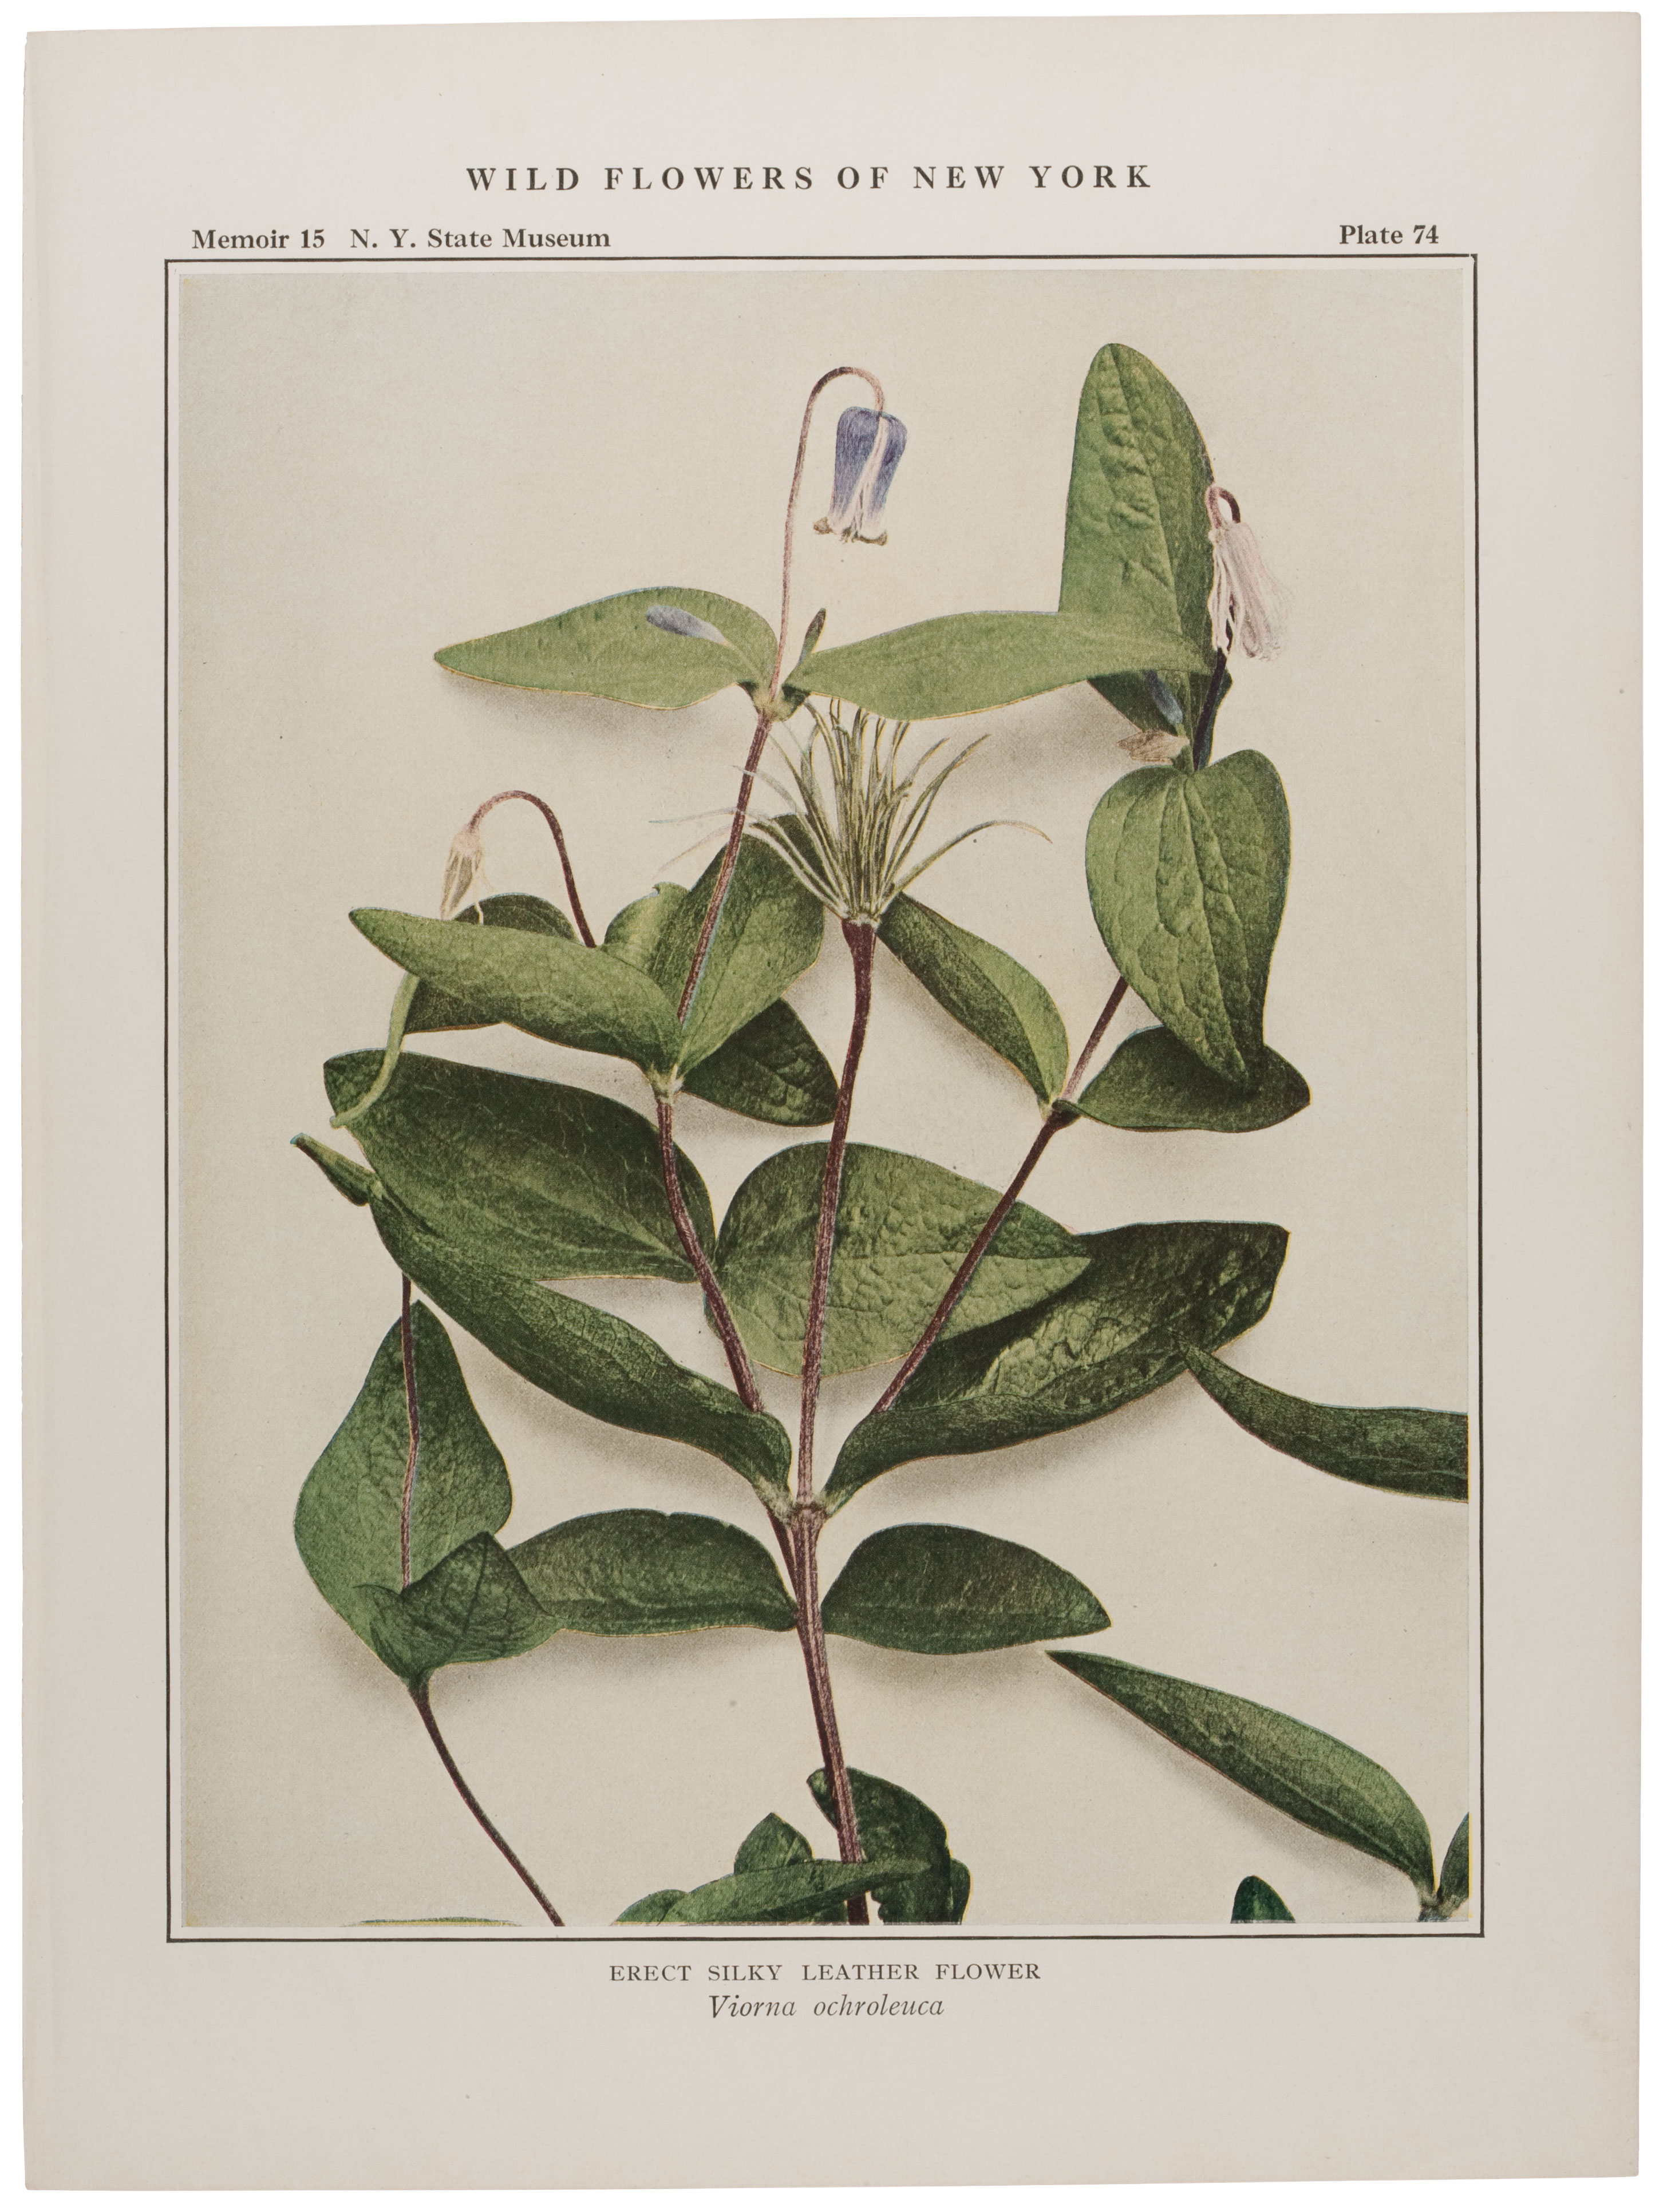
No image deterioration, very stable image
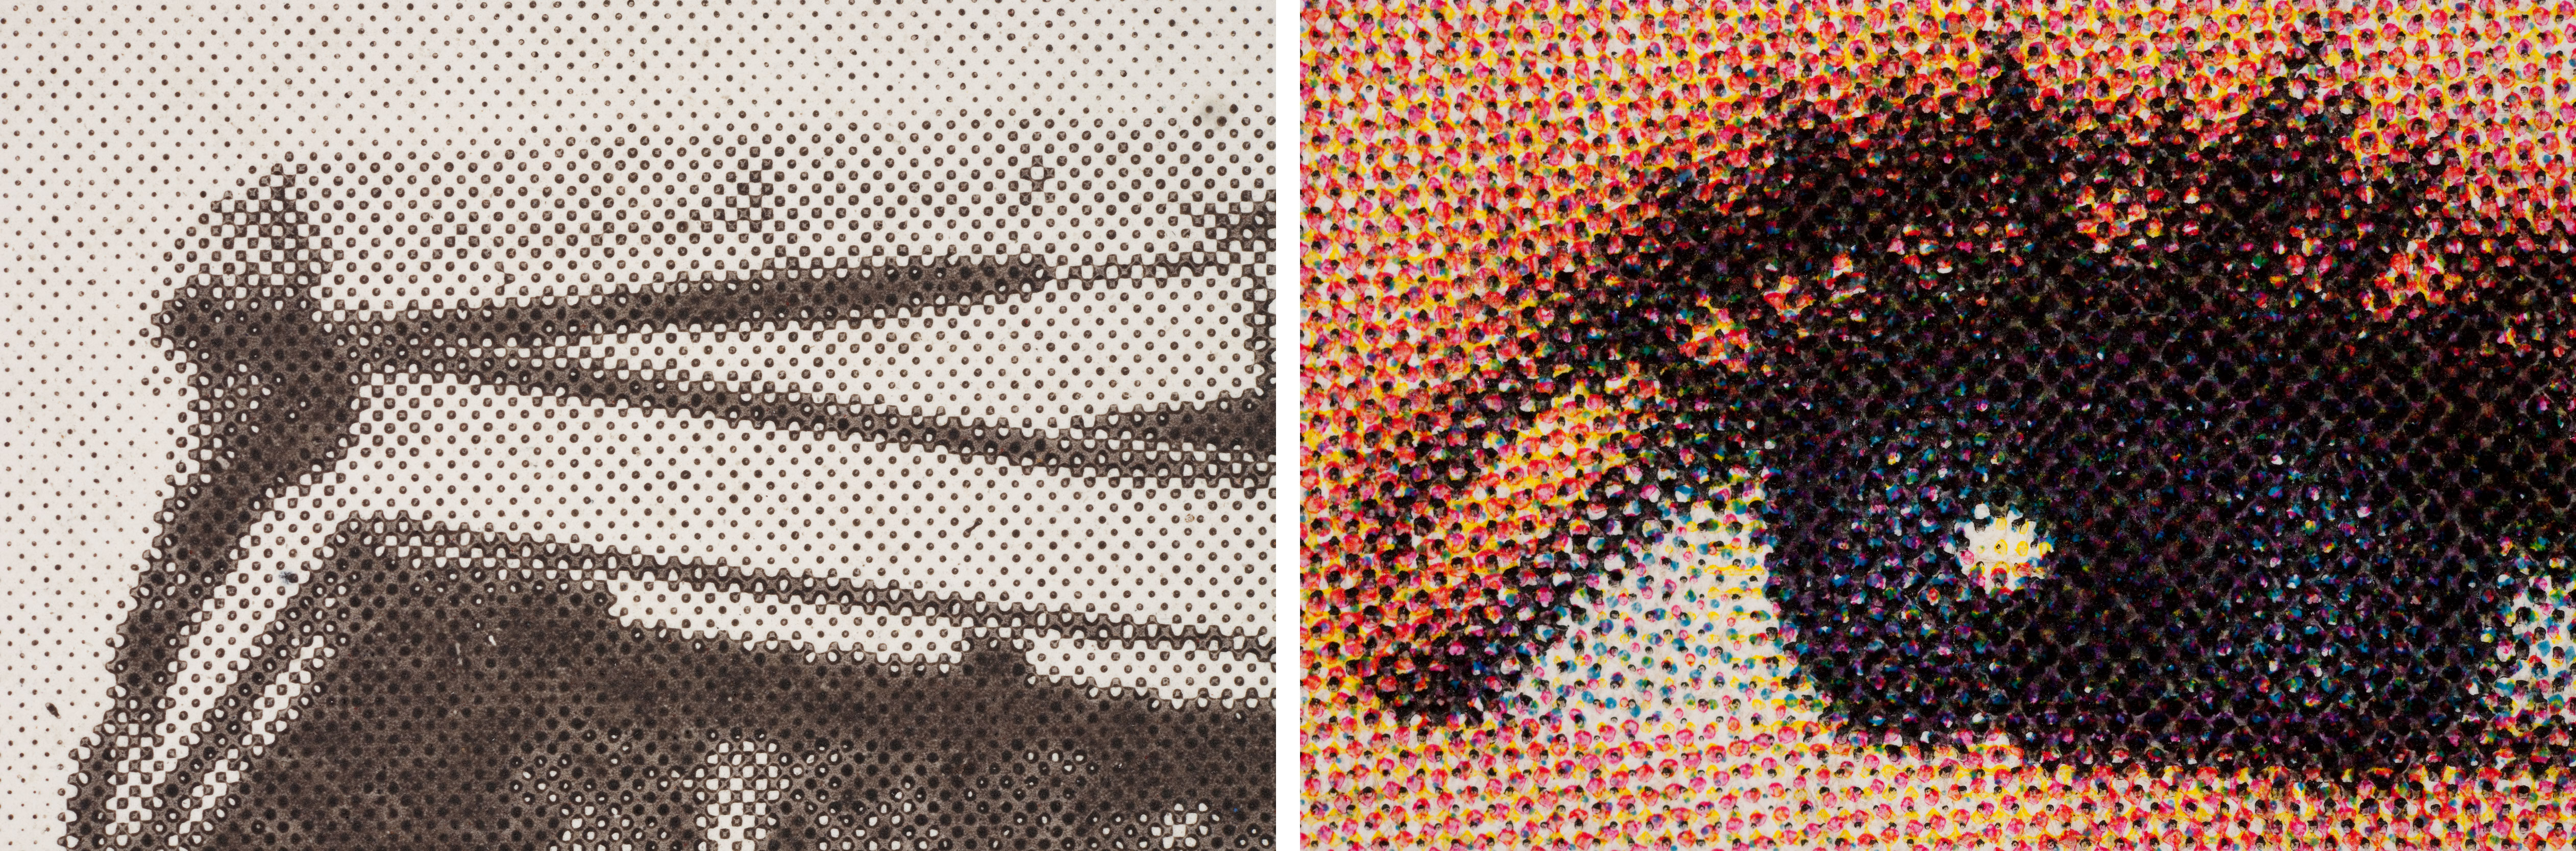
Halftone pattern
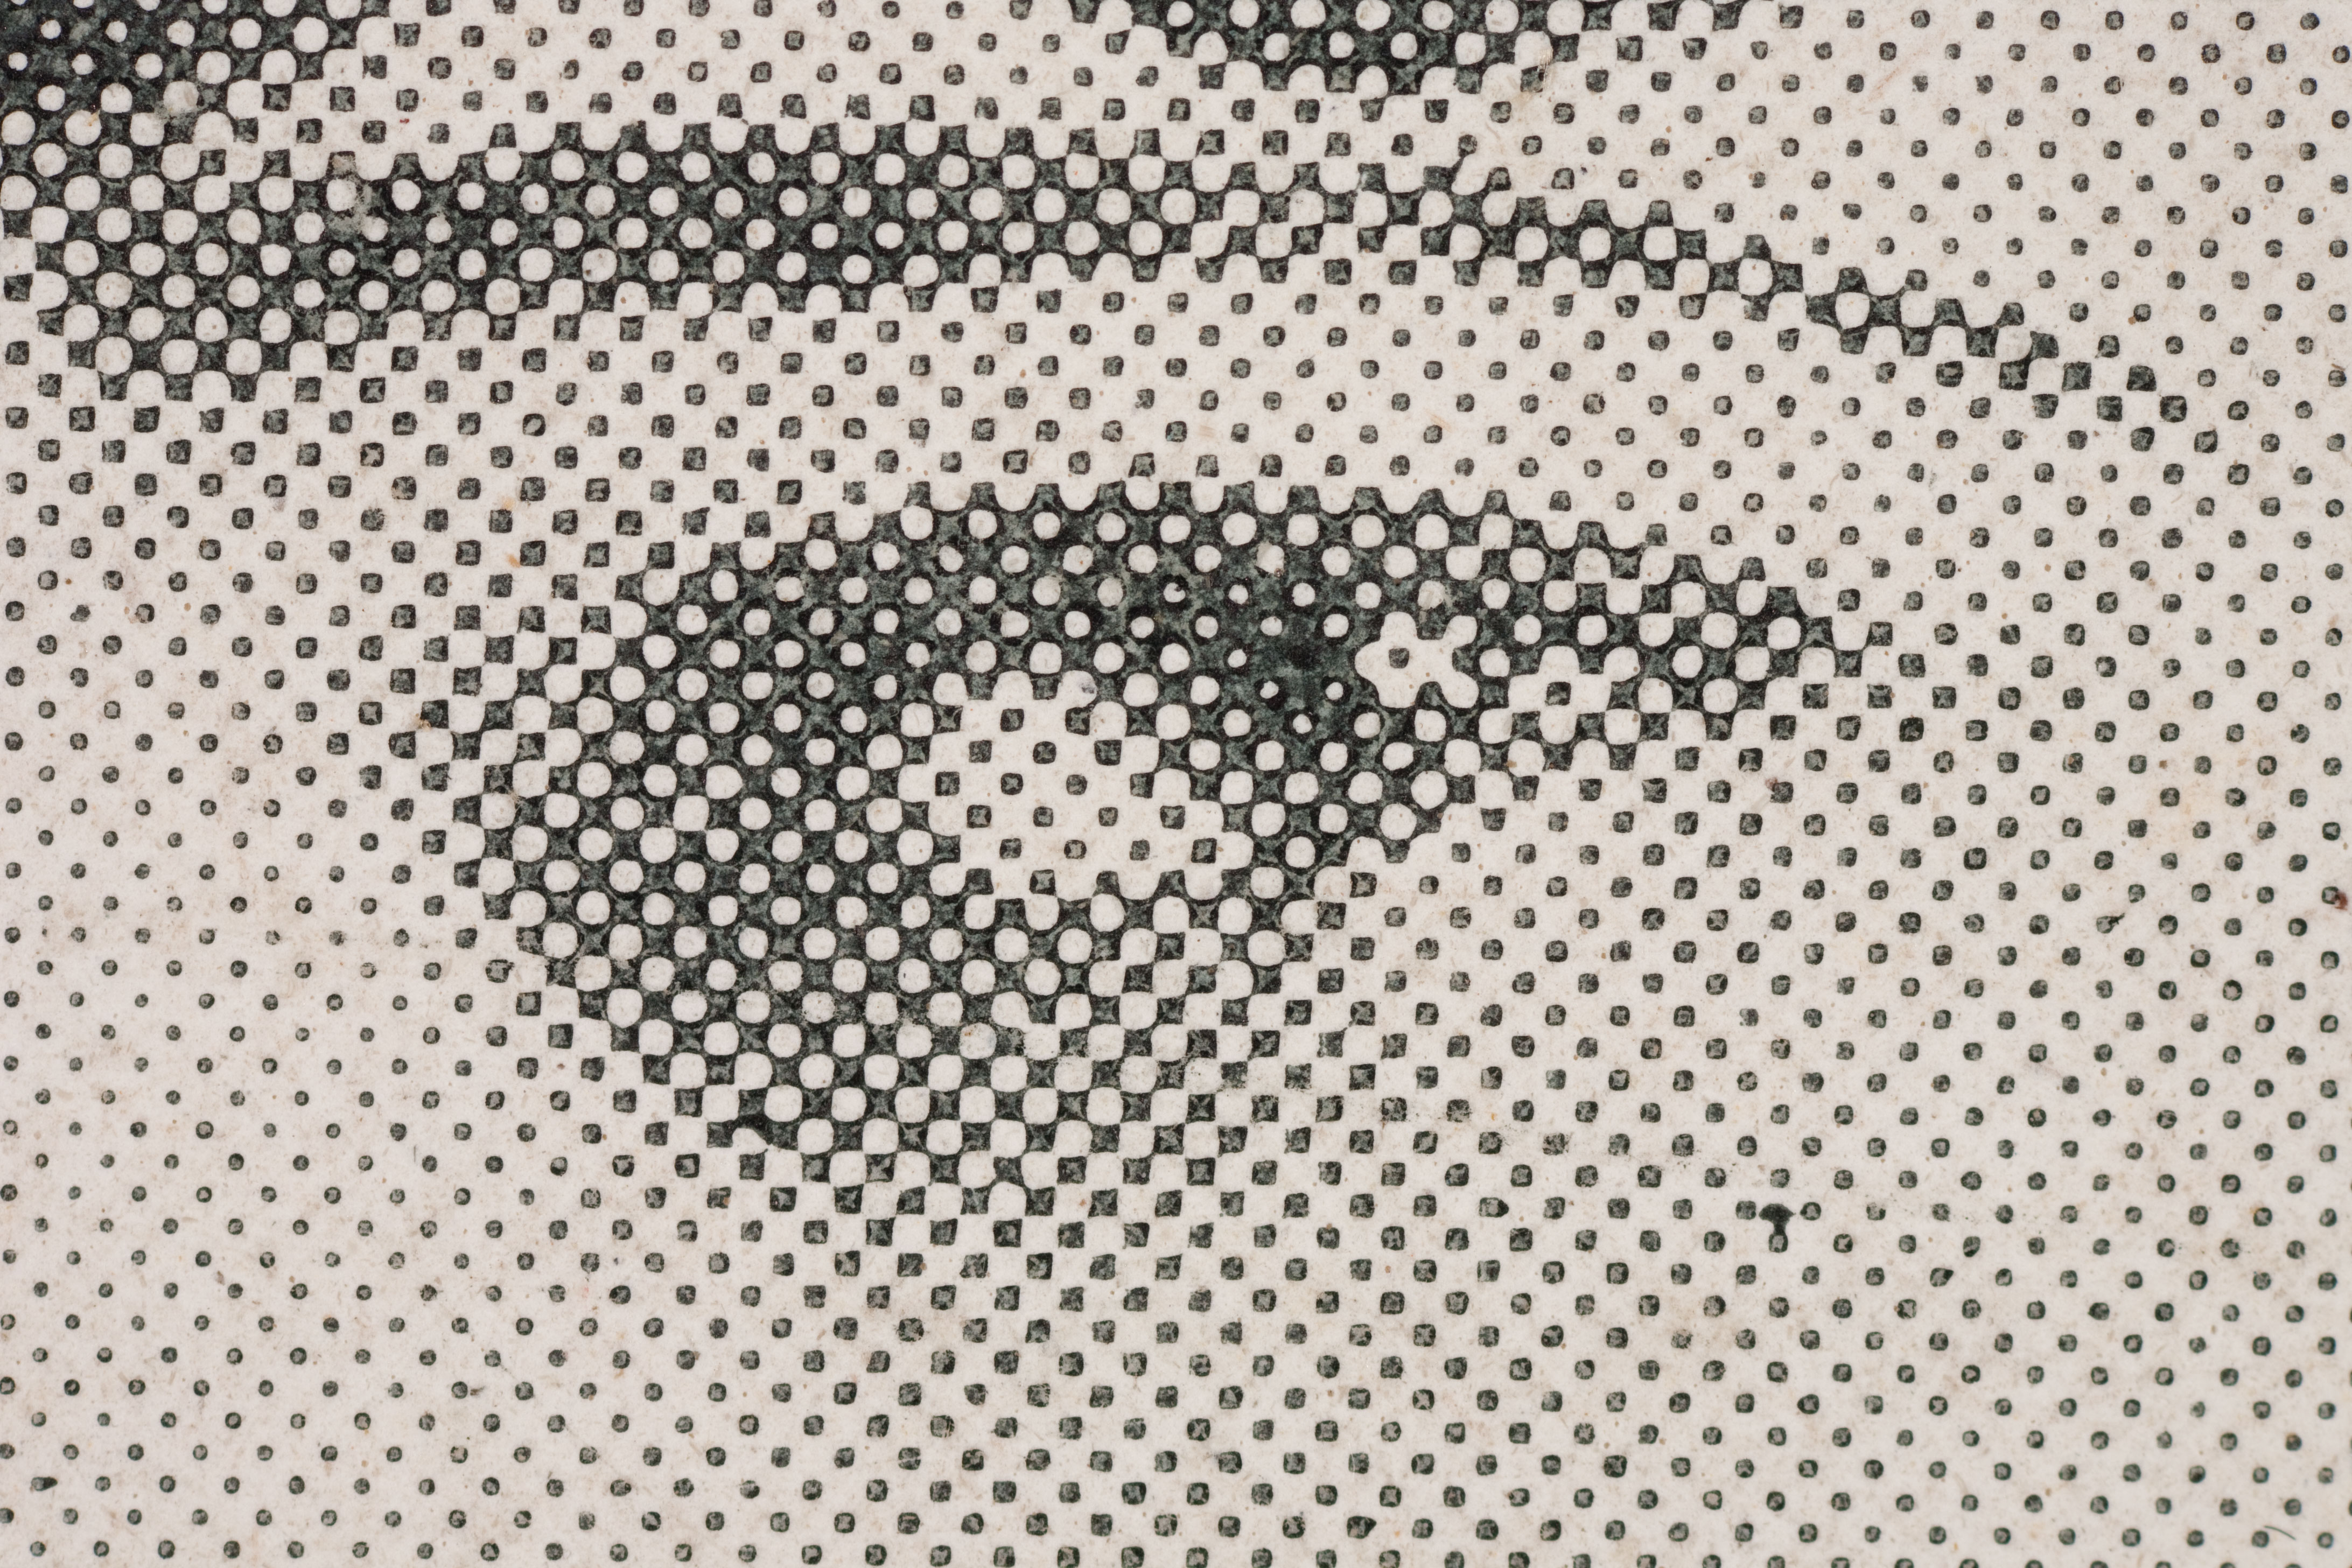
Ink squeeze-out
Common Use Dates: 1875-1970s
Alternate Names: Relief halftone, Photoengraving, Photoengraving halftone, Zincography, Photo-zincography, Typogravure, Typographic process, Process print
Mistaken For: Offset Lithography, Inkjet, Electrophotography
Process Family(s): Photomechanical, Dichromated Colloid, Paper Support, Relief, Print
Letterpress halftone is a photomechanical process that evolved from a marriage between traditional relief printmaking, etching, and photography. In this process the continuous tones of a photograph or image were translated into dots through a series of actions. The inadequacies of the human eye allow us to optically blend these dots back into their continuous tone giving the illusion of tonal variation.
Letterpress printing is a technique that employs the use of a printing press to print images and text in ink on paper. The printing matrices used in letterpress employ the relief process. In a relief matrix the non-image areas are removed leaving the printable areas slightly raised above the non-image surface. Until the mid-19th century, most relief print matrices were created by drawing directly onto a block before carving by hand. This was a laborious, time-consuming, and expensive process. The invention of photography in 1839 brought monumental advancements to letterpress printing and forever changed the production and dissemination of images.
Photography was first used with the relief process in the late 1850s with a technique called photoxylography in which a photographic image could be printed or transferred onto a wooden block, which was manually cut using the photographic image as a guide. By the late 19th century photoxylographs and non-photographic wood engravings were replaced with letterpress halftone and line block processes. These photomechanical relief processes dominated the commercial printing market until they were replaced by offset lithography beginning in the 1960s for book illustrations and other printed materials and in the 1980s for newspapers. However, the 1980s also saw a resurgence in letterpress printing among small printers who appreciated the tactile feel of these prints.
The most common method for producing letterpress halftone matrices involved photographing an original image through a halftone screen using a process camera. The process camera was very large and in many cases had its own designated room. Its massive size was necessary in order to accommodate the often large objects to be photographed as well as to provide the correct distance between the lens and the object.
The halftone screen traditionally consisted of an arrangement of parallel or intersecting lines suspended on a transparent support. These intersecting lines created a network of evenly spaced apertures of equal size through which light could pass in a camera, splitting the image being photographed into a series of ‘dots.’ The screen design dictated what the shape of the halftone dots would be. The most common dot shapes were round, elliptical or square, although special effect screens could be used to break the image into unique shapes for an artistic effect. The physical screen was replaced with a technology called digital halftoning beginning in the 1970s and is still standard today.
To create a letterpress halftone printing matrix, the continuous tone image or the object to be reproduced was positioned at a predetermined distance in front of the process camera with a sheet of sensitized photographic film placed in the camera back. A halftone screen was affixed either directly in contact or at a specific distance in front of the film. This distance was determined by the ruling or resolution of the halftone screen. The ruling also played a vital role in determining the amount of light that penetrated the screen openings, which dictated the size of each halftone dot.
During exposure, light reflected off the image being photographed, passed through the lens and through the multitude of apertures in the halftone screen, and struck the sensitized film in the back of the camera. This created a negative image as a network of various sized and evenly spaced diffuse dots that represented the halftones of the original image. The negative was developed with a high-contrast developer in order for the diffuse dots to appear solid.
The halftone negative was then exposed onto a metal plate sensitized with dichromated gelatin. This sensitized gelatin hardened in areas where it was exposed to light and remained soluble in unexposed areas. After the unaffected gelatin was washed away the plate went through a photoengraving process where the bare metal between the dots was removed through the chemical action of an etching solution. The remaining hardened gelatin acted as a resist during this process. A final editing process removed or better defined specific halftone dots before the plate was proofed, mounted, inked and printed. The halftone process is far more varied and complex than can be described with this general overview. Interested readers are encouraged to review primary literature on the subject.
Letterpress text and images produced from flat matrices printed very slowly and were generally used only for low-volume printing. In order to increase productivity, letterpress halftone plates were formed into cylinders that could be printed on a rotary press at much higher speeds. Stereotyping was one way to do this. During this process the relief printing matrix was pressed into a papier-mâché mixture that was subsequently bent into a cylindrical shape. A cast of this bent mold was made with molten metal, creating the new cylindrical matrix. Cylindrical letterpress molds could also be produced by an electroplated replica of the original halftone matrix. Rotary letterpress paved the way for the revolution in magazine production.
The tonality of the single-impression halftone print was improved upon with the advent of the duotone process (also referred to as duplex or duograph). This process used two different halftone negatives of the original copy. The negatives were exposed through halftone screens that were tilted thirty degrees away from each other in order to avoid the frequency-interference pattern known as moiré. The first impression was usually printed in gray or another pale color, followed by the second halftone printed in black ink. The addition of this second color added body and smoothness to the original halftone image and helped to bring out the middle tones and highlights. Sometimes ink combinations were used that did not include black, which could produce interesting tonalities. Duotones became common in the 1930s and were mostly used for more expensive publications.
As with duotone, multiple color halftone images required a separate matrix for each color. Three-color halftone images printed during the last quarter of the 19th century were not faithful to the original copy colors because the photographic materials of the time were only sensitive to blue and green light. Multiple color letterpress halftone prints made during this time were created through a false color process whereby a color separator would select the ‘false’ colors to be printed. The colors commonly employed were yellow, red, and blue. Color could also be applied with another printing process such as the line block process or chromolithography.
Full color sensitive film became available in the early 1900s and allowed red light to be faithfully recorded along with green and blue. Letterpress halftones could be produced by true color separation and printed in precise registration with cyan, magenta, and yellow ink. A fourth halftone in black ink, called the key, was also added in many prints, both in the 19th and 20th century, to better imitate the contrast and color saturation of the original copy.